Table of Contents
Self Check-in from Practice Portal #
- Prerequisite: There must be an appointment scheduled for the patient. For that visit the manual How to Schedule an Appointment.
- Then click on the Self Checkin Module.

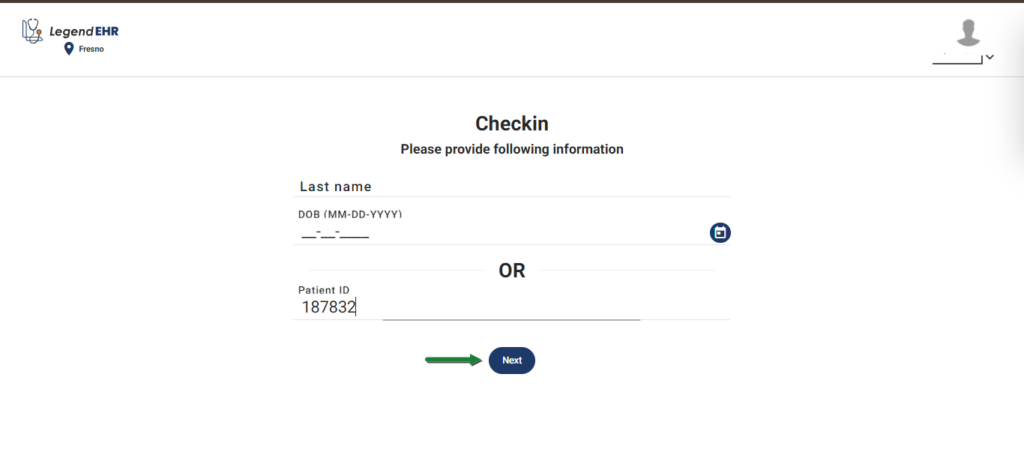
- Write the Last Name and DOB or Patient ID of the Patient.
- Click on the Next button.
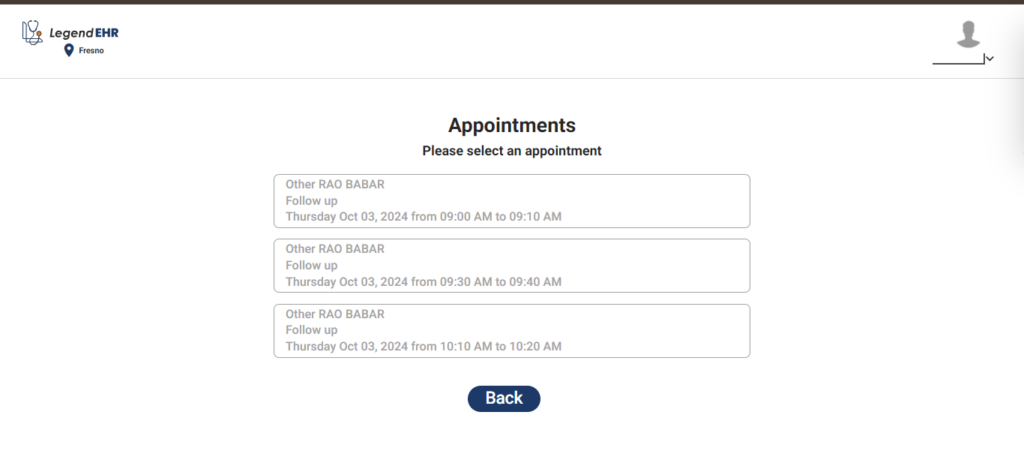
- If you have multiple appointments, please select the appointment you want to check in for.
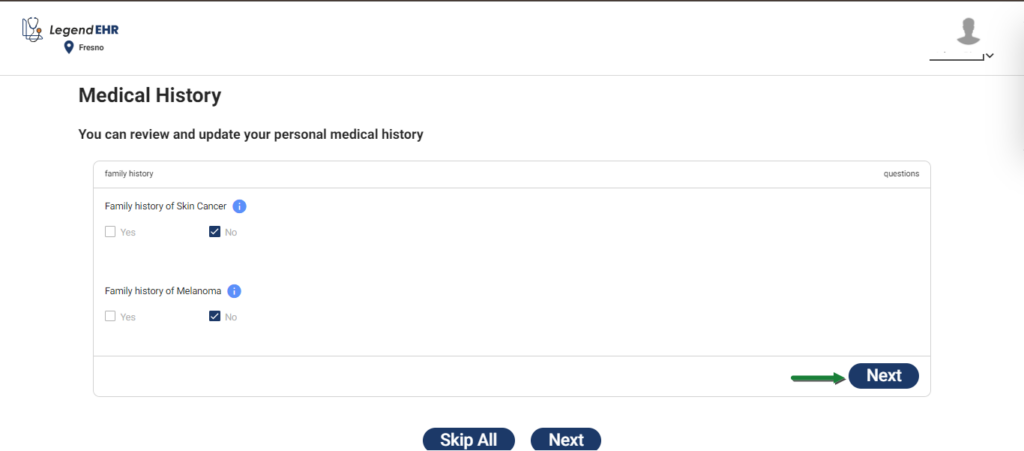
- Select the answers for Family History
- Click on the Next button.
Note: Clicking the lower “Next” or “Skip All” button will skip all Medical History questions and redirect you to the Personal Information page.
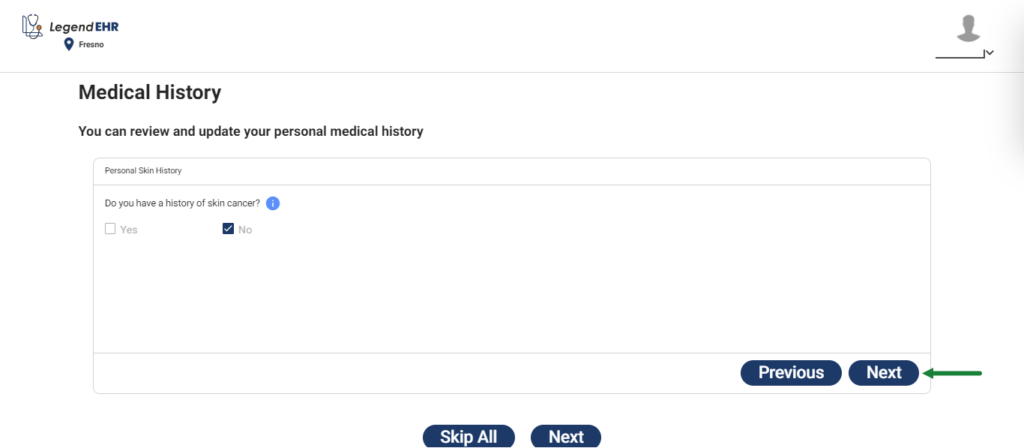
- Select the answer for Personal Skin History
- Click on the Next button.
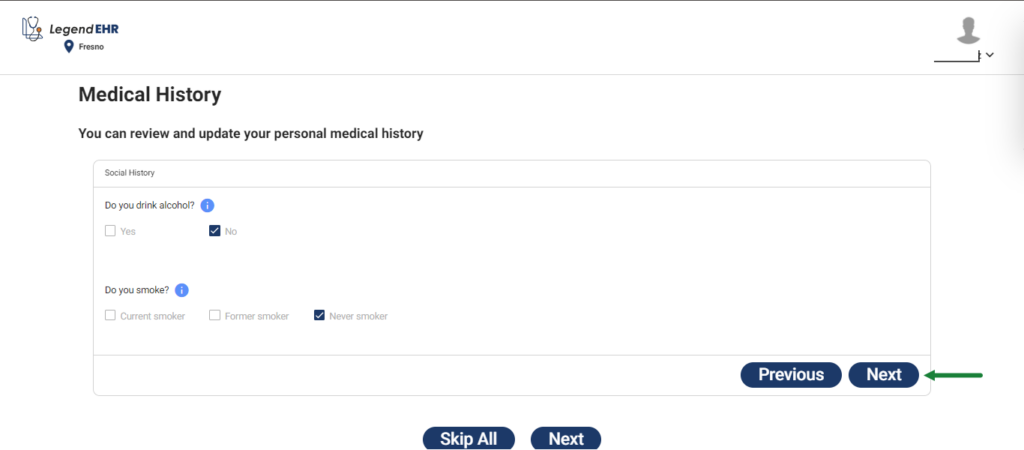
- Select the answers for Social History
- Click on the Next button.
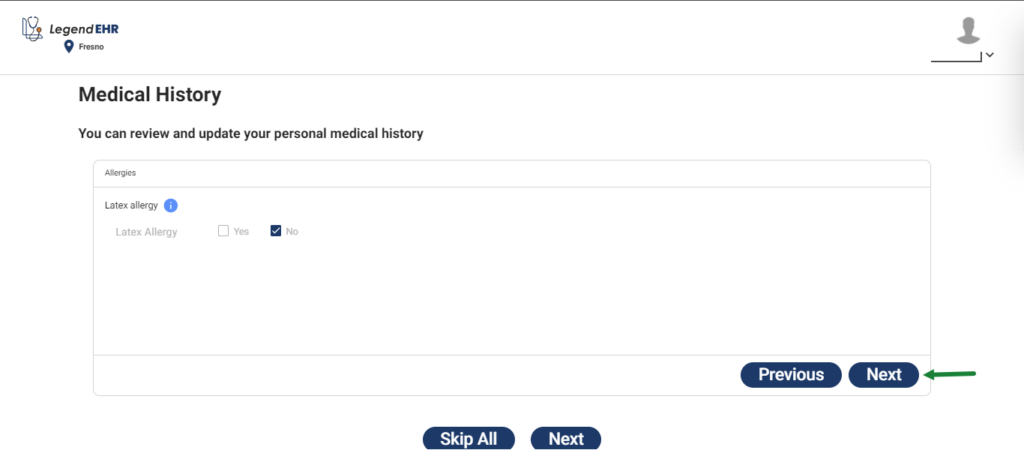
- Select the answers for Allergies
- Click on the Next button.
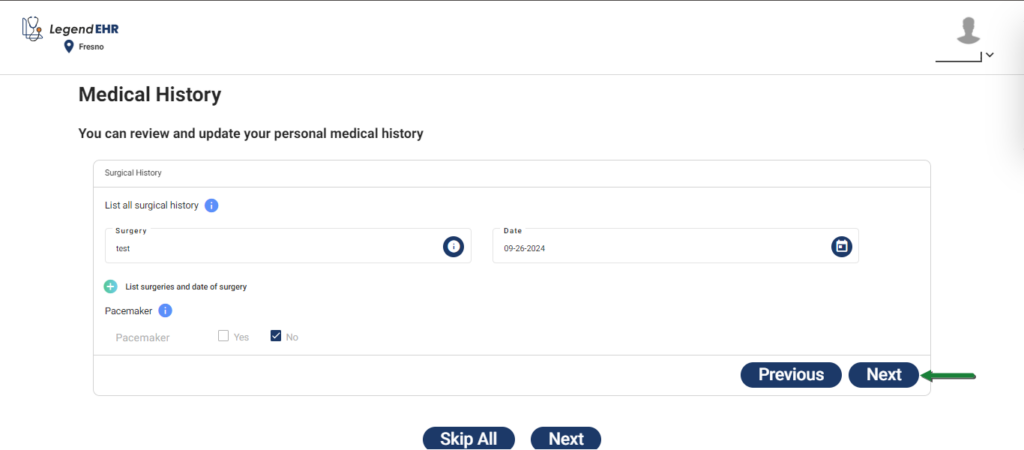
- List the Surgeries with the Date (if any).
- If you have multiple Surgeries, click on the + icon to add more.
- Select the answer for Pacemaker.
- Click on the Next button.
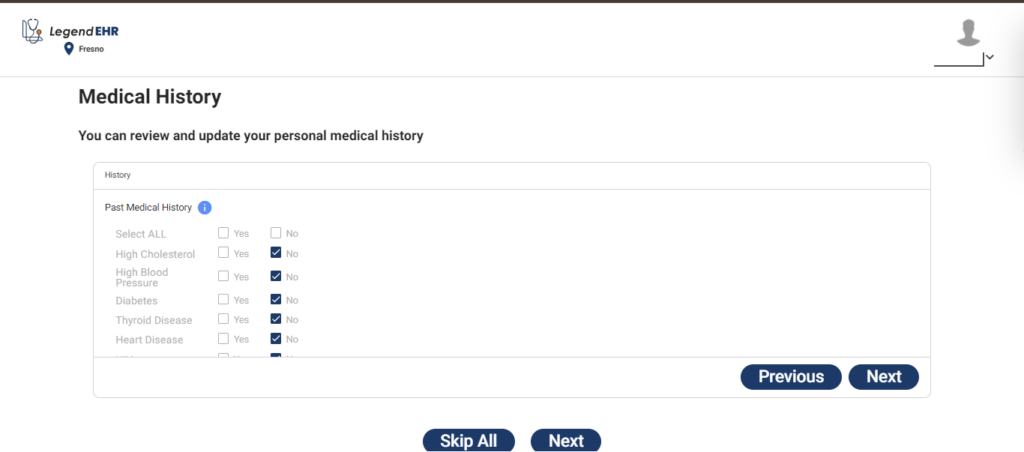
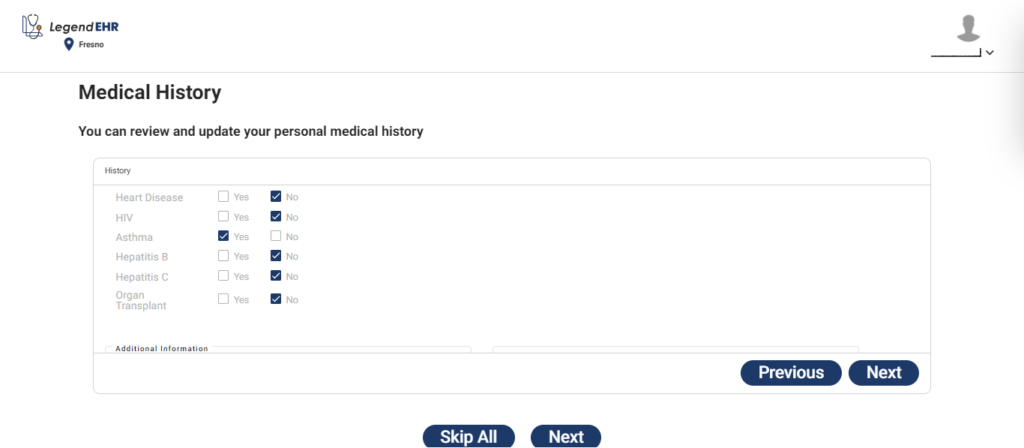
- Select the answers for Past Medical History.
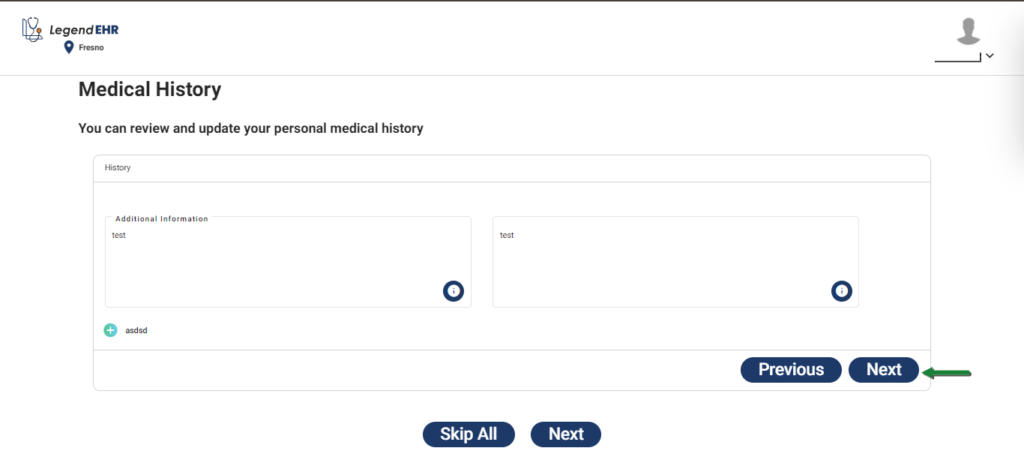
- Write the Additional Information.
- Click on the Next button.
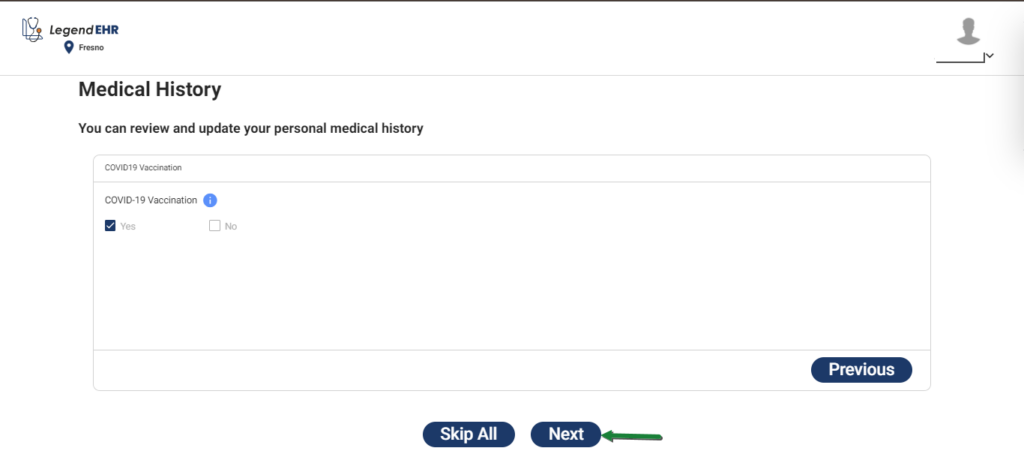
- Select the answer for COVID-19 Vaccination
- Click on the Next button.
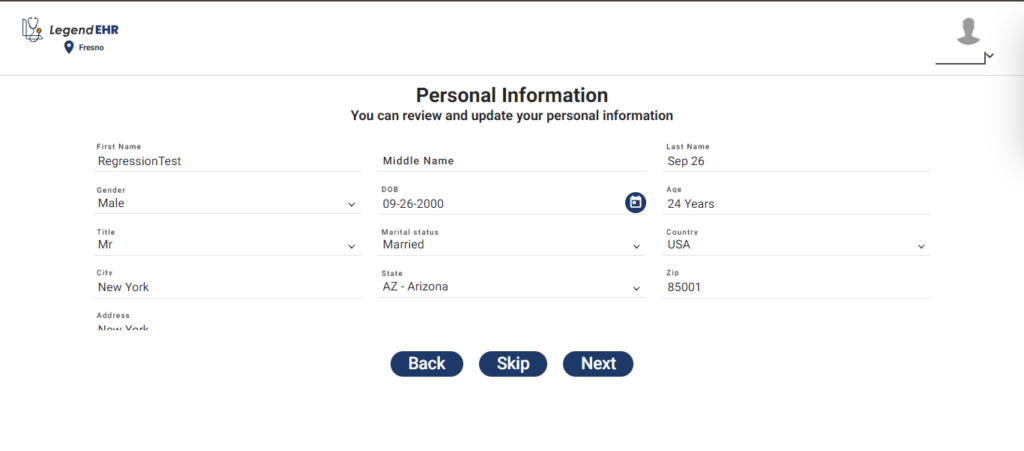
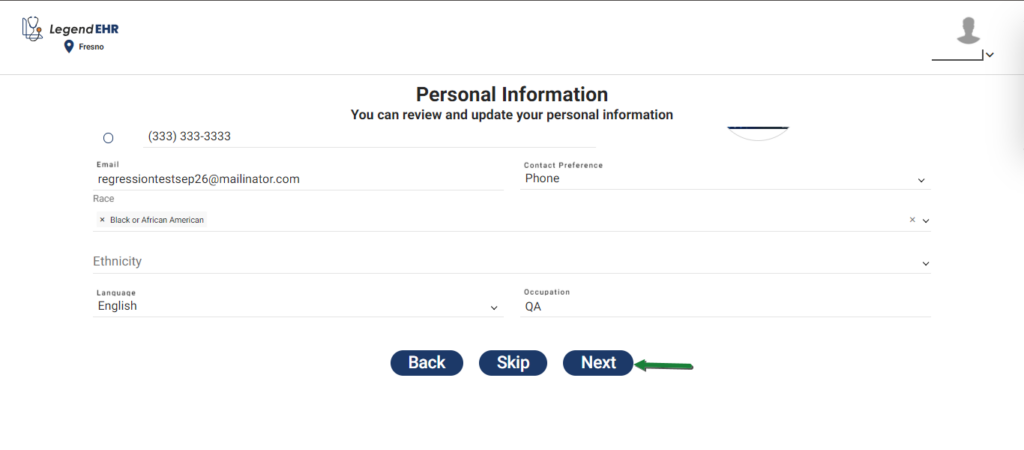
- Review or Update the Personal Information.
- Click on the Next button.
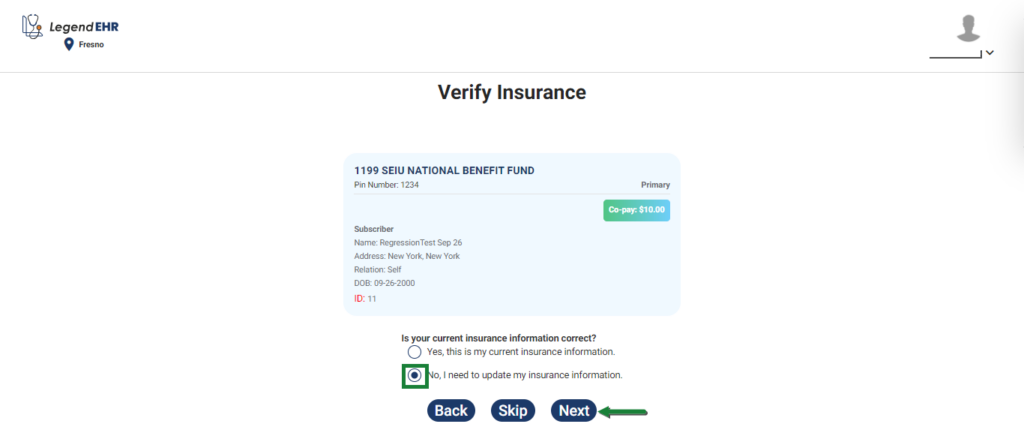
- Verify the Insurance
- If your current Insurance Information is not correct and updated, click No
- Click on the Next button.
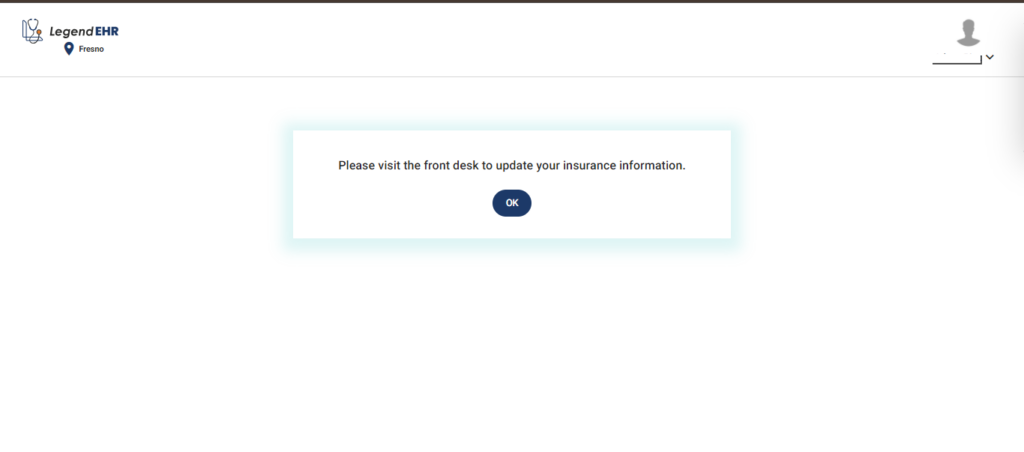
- You’ll be asked to visit the front desk.
- Click OK.
OR
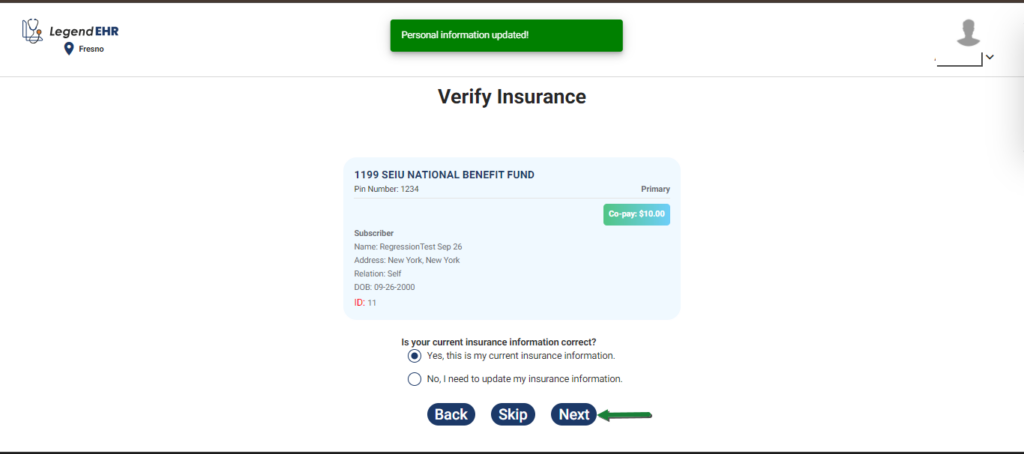
2. If your current Insurance Information is correct and updated, click Yes
- Click on the Next button
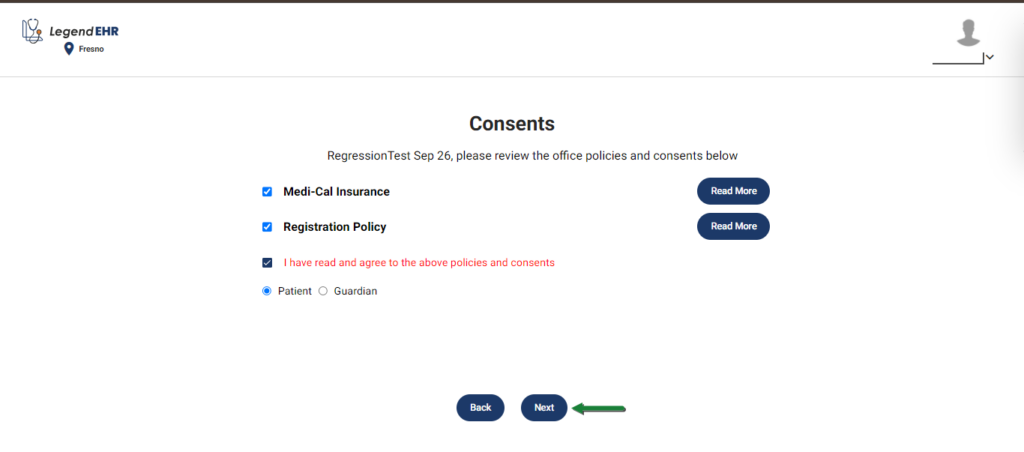
- Select the Consents after you have Read More
- Please select the one who is agreeing to the Consents for the patient, the Patient himself, or the Guardian
- Fill in the Name and Relationship Info in the case of Guardian.
- Click on the Next button.
OR
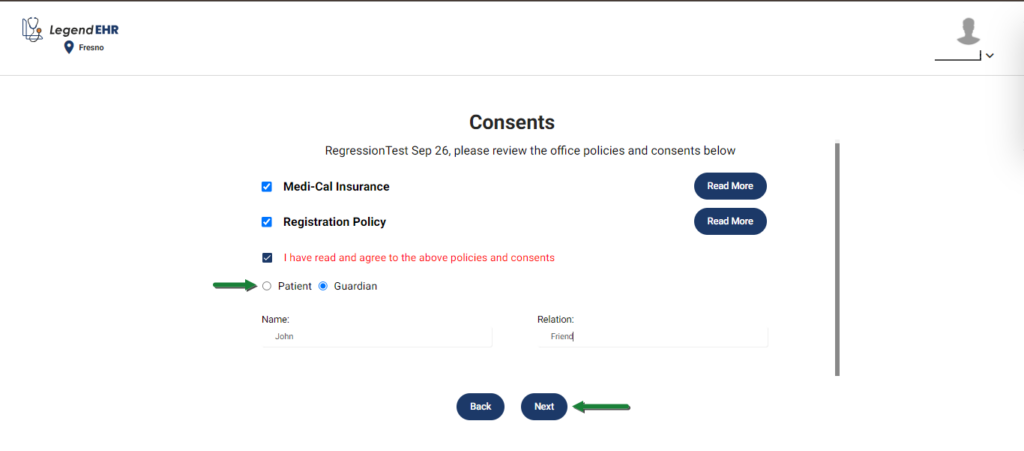
- Select the Guardian (if in the case Guardian is Checking in on the Patient’s behalf)
- Fill in the Name and Relationship Info in the case of Guardian.
- Please hand your insurance card and photo ID to the front desk for verification after completing your Checkin steps
- Then click on the Checkin button.

- You’re Checked in Successfully.
- Click on the OK button.
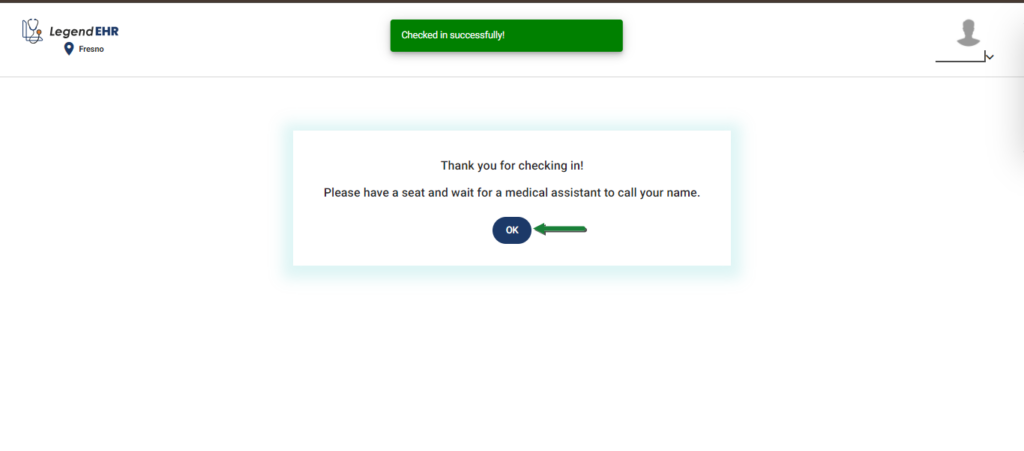
Please have a seat and wait for a medical assistant to call your name.


