Patient Portal For Booking Appointment #
1: Access the patient portal #
To begin, open your web browser and navigate to the patient portal website. If you don’t have an account, you may need to sign up or contact your healthcare provider for registration assistance.
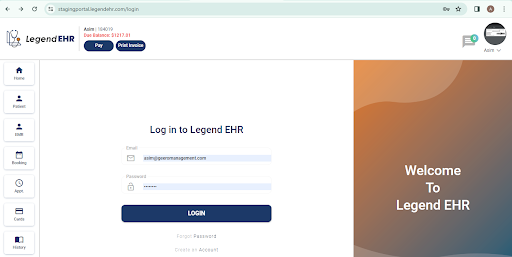
2: Logging In #
Enter your username and password for portal access. For any login issues, use the password recovery option.
#
4: Navigating to the Appointments Section
Once logged in, locate the ” Book Appointments” section in the patient portal. This is where you can initiate the appointment booking process.
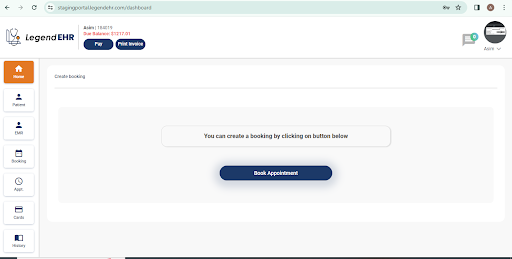
5: Booking an Appointment #
For creating a “New Appointment” follow below mentioned steps.
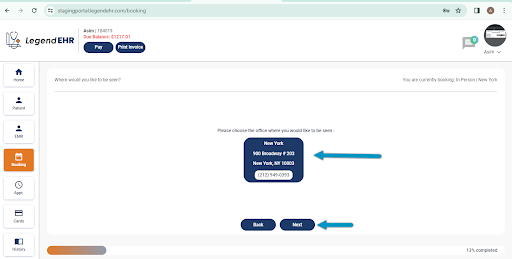
- Select location.
- Click Next
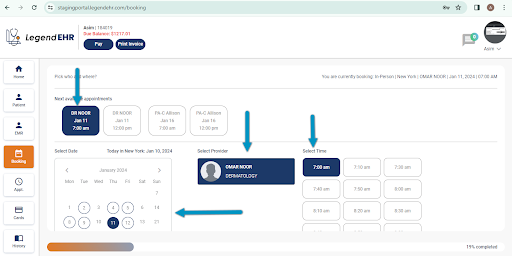
6: Selecting a Provider
Choose the healthcare provider you wish to see from the available list.
7: Choosing a Date and Time
Select a convenient date and time for your appointment from the available slots. The patient portal displays the provider’s availability in a calendar view.
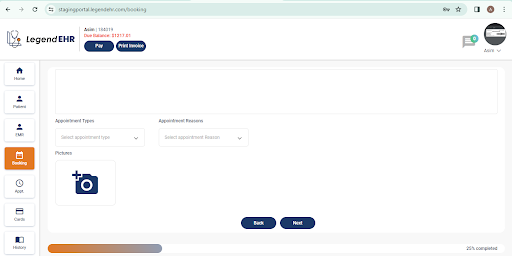
8: Selecting Appointment Reason
After clicking “Next” choose the most relevant reason and select the provided options. Review and confirm your selection by clicking on the “Next” button.
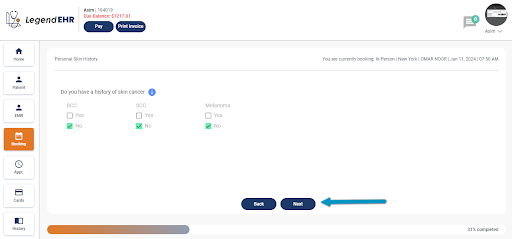
- Select the Personal Skin History from the given options and click on the “Next” button
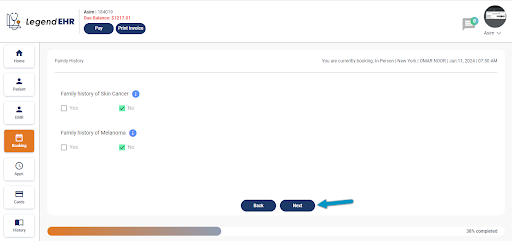
- Select the Family History from the given options and click on the “Next” button
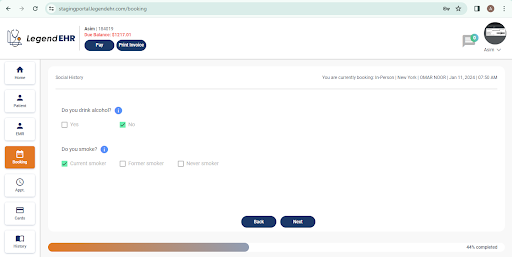
- Select the Social History from the given options and click on the “Next” button.
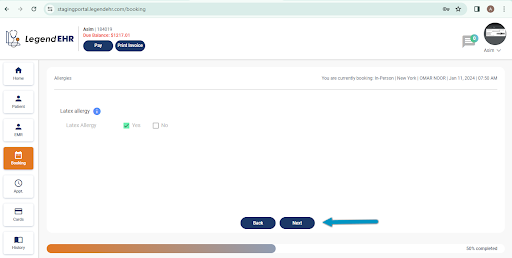
- Select the Allergies from the given options and click on the “Next” button.
- Select the Surgical History from the given options and click on the “Next” button.

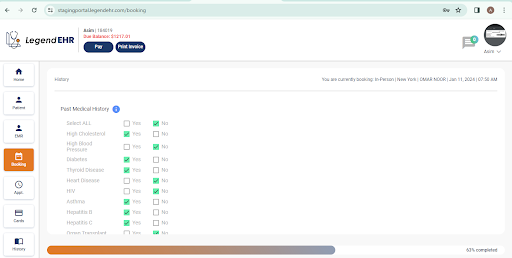
- Select the Past Medical History from the given options and click on the “Next” button.
- Select the COVID-19 vaccination either “Yes” or “No”
- Click on the “Next” button
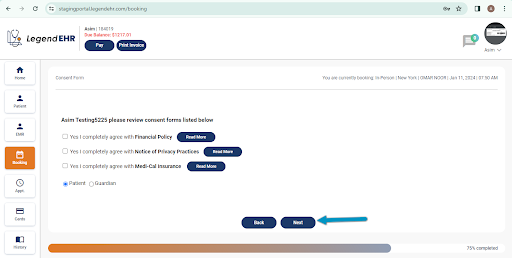
- Complete the Consent Form
- Click on the “Next” button
- Check the Demographics details
- Click on the “Next” button
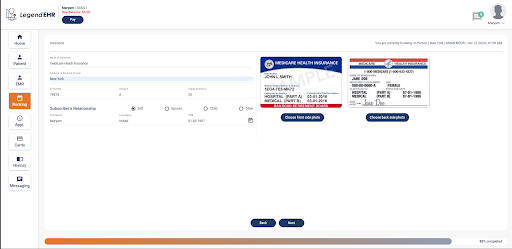
9: Adding Insurance Information
Enter accurate insurance details. You may upload an image of your insurance card for verification and then click on the “Next” button.
10: Confirming the Appointment
- Enter Your payment details and review your selected details.
- Click on the “Submit” button.
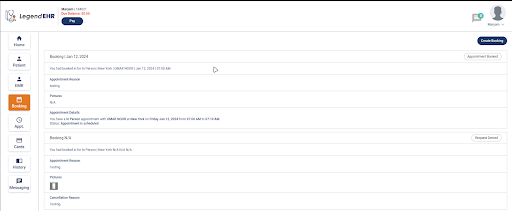
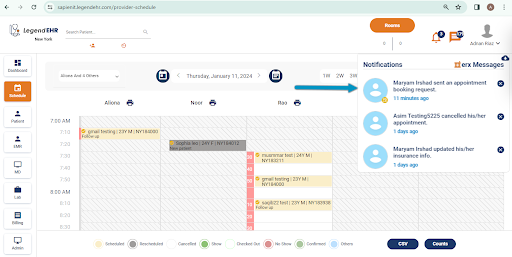
11: Viewing and Managing Appointment
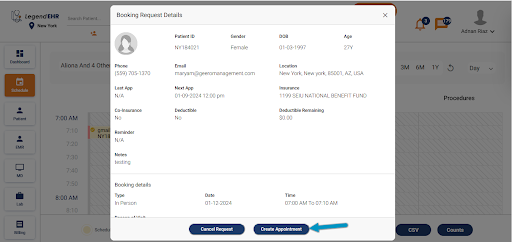
- After booking, LegendEHR receives a notification and manage your appointment.
- LegendEHR view and manage your appointment by clicking on “Create Appointment” button.
- Upon submission, Users receive a confirmation email to the email address associated with their patient portal account.
- A notification appears on the patient portal confirming the successful booking immediately after submission.