Table of Contents
Schedule an Appointment #
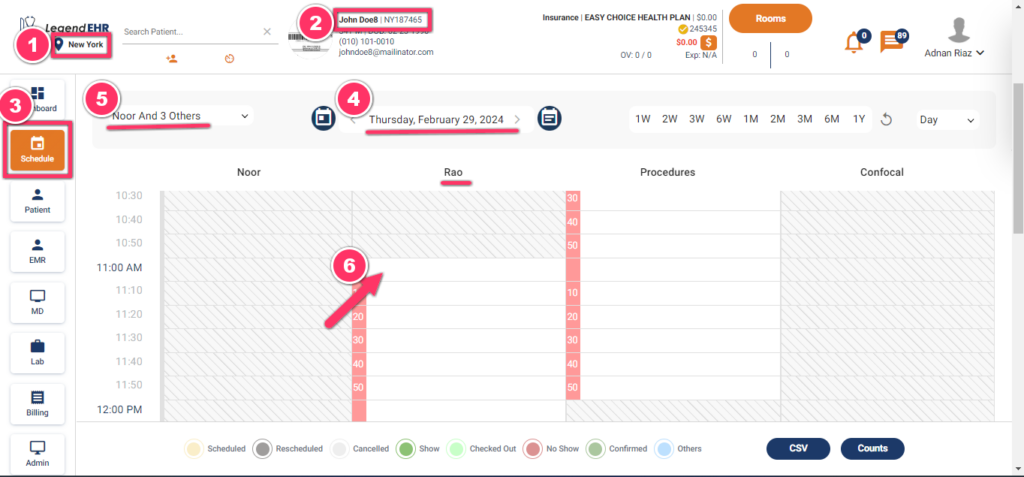
- Choose your Location.
- Select a Patient.
- Go to the Schedule module.
- Select a Date from the Calendar.
- Select the Providers from the dropdown of checkboxes.
- Select a time slot and click on it.
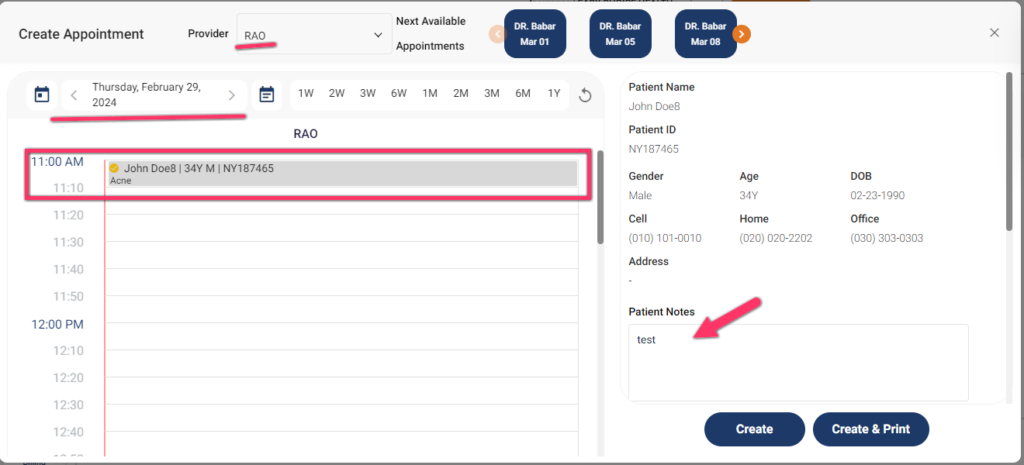
- A popup to Create Appointment will be opened.
- Provider can also be selected from the dropdown.
- The Time slot selected can be seen in the Grey color.
- Go to the right section and write the Patient Notes.
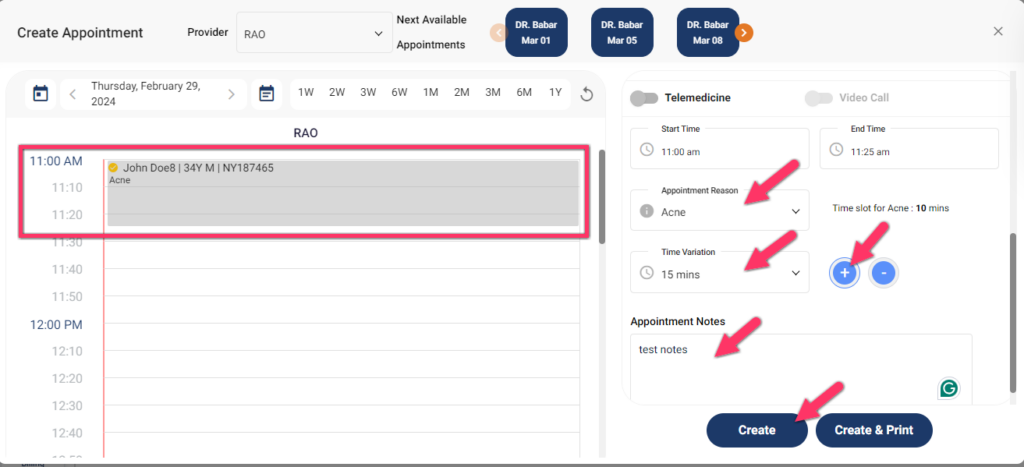
- Scroll down the right section and select an Appointment Reason from the dropdown.
- It will show the Time slot for the selected Appointment Reason.
- Select a Time Variation from the dropdown if required.
- Then Add this selected Time Variation to the slot by clicking on the blue + icon.
- Now Start Time and End Time are changed accordingly.
- The selected slot can be seen in the Grey color in the left section.
- Write the Appointment Notes.
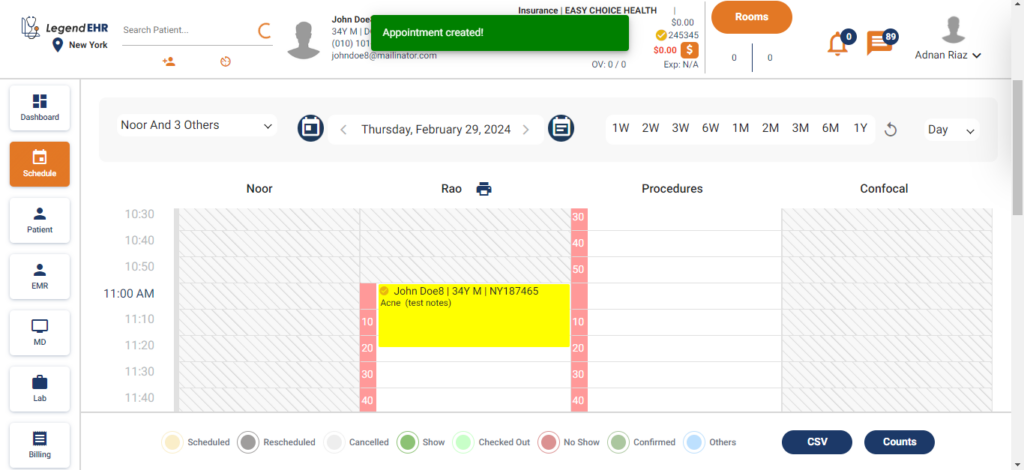
- Click on the Create button.
- Appointment Created successfully, can be seen in the Yellow color. The yellow color represents the selected patient.