Table of Contents
Lab Order Creation #
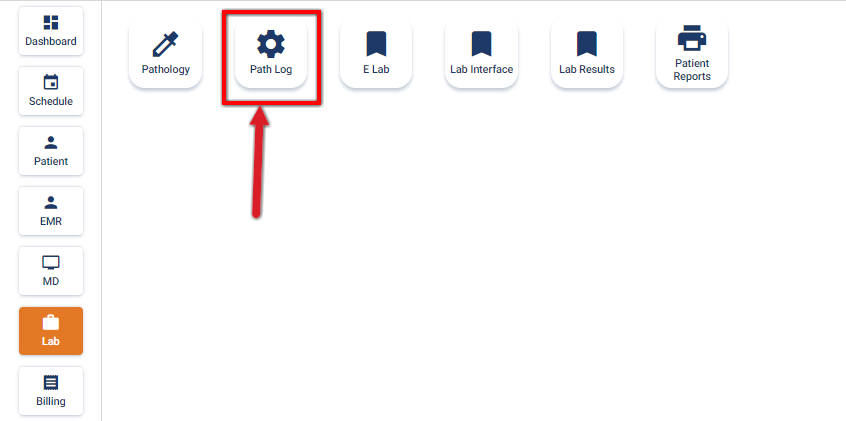
- Go to Lab Module
- Click on Path Log
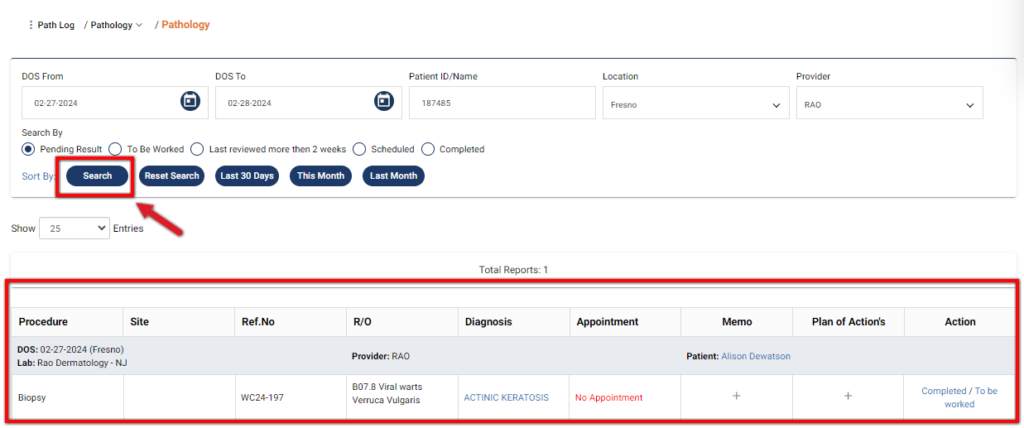
- Enter the DOS
- Enter Patient ID/Name
- Select Location
- Select the name of Provider
- Click on Search Button
- Search your Lab Request
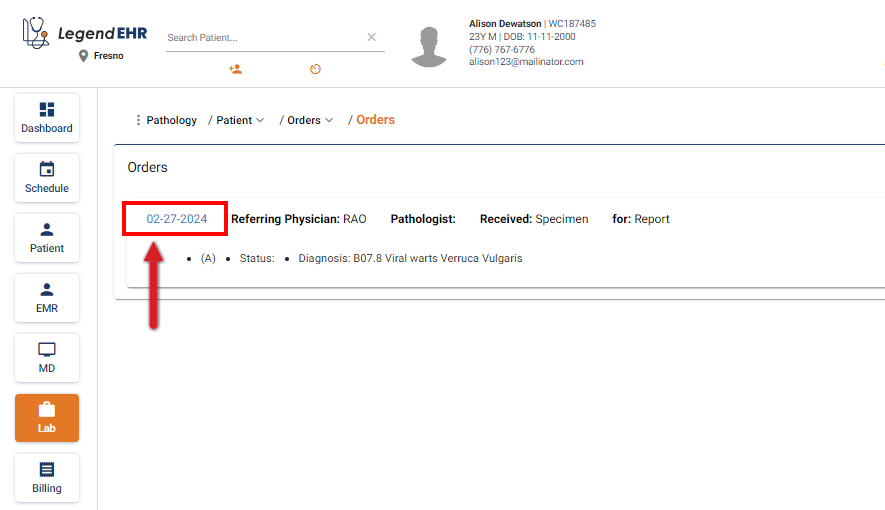
- Go To lab Module
- Click on Pathology

- Click on Date of Service
External Lab #
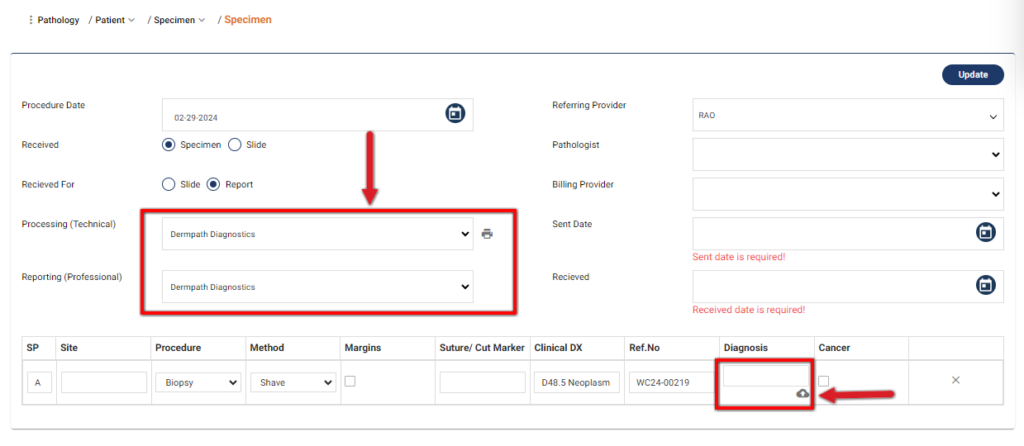
- Select the Procedure Date
- Select the Radio Button of Received and Received For
- Select your External House Lab from Processing (Technical)
- Select your External House Lab from Reporting (Professional)
- Select Referring Provider
- Select Pathologist
- Select Billing Provider
- Select Sent Date and Received Date
- Select the Upload Document icon located in the Diagnosis section, then proceed to Upload the document
- Click on Update Button
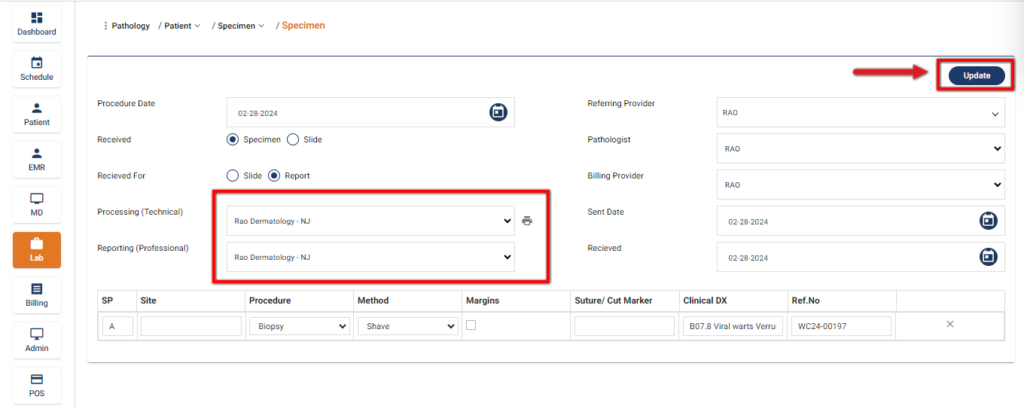
In-house Lab #
- Select the Procedure Date
- Select the Radio Button of Received and Received For
- Select Rao Dermatology-NJ from Processing (Technical)
- Select Rao Dermatology-NJ from Reporting (Professional)
- Select Referring Provider
- Select Pathologist
- Select Billing Provider
- Select Sent Date and Received Date
- Click on Update Button
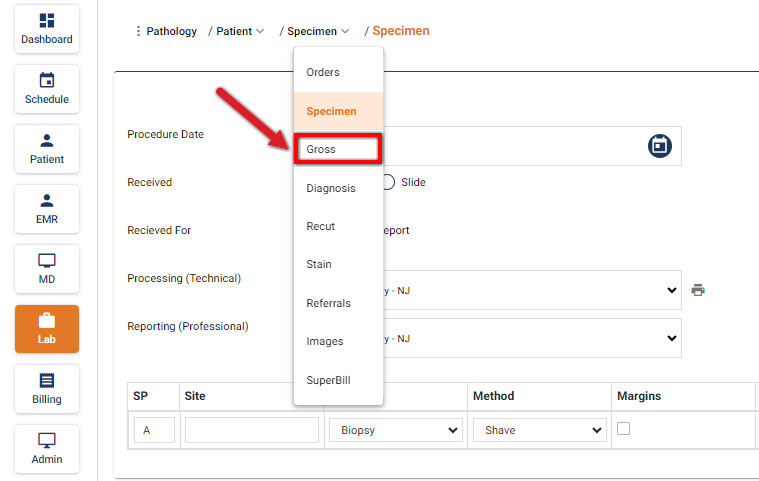
- Click on Gross from Drop-Down
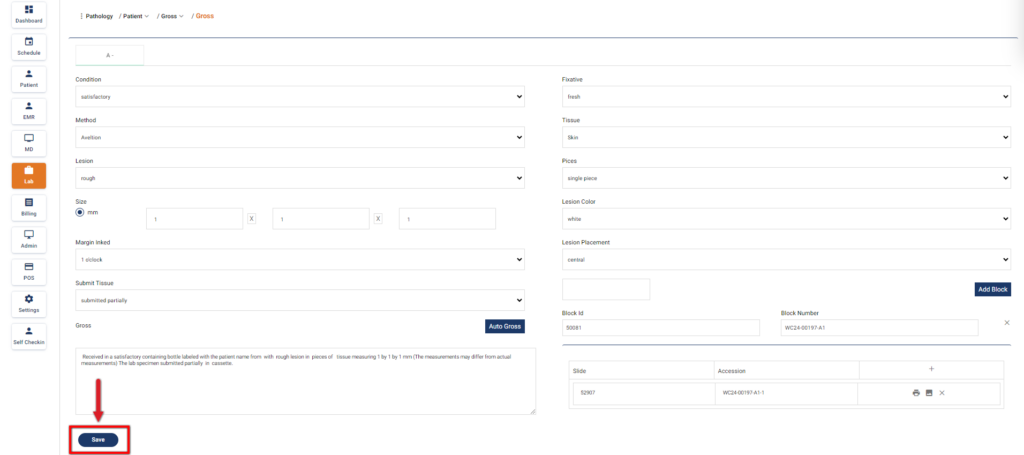
- Select Condition
- Select Method
- Select Lesion
- Enter the Size
- Select the Margin Inked and Submit Tissue
- Click on Auto Gross Button
- Select Fixative
- Select Tissue
- Select Pices
- Select Lesion Color
- Select Lesion Placement
- Enter the Number and click on Add Block Button
- Click on “+” Sign and Upload the Document
- Click on Save Button
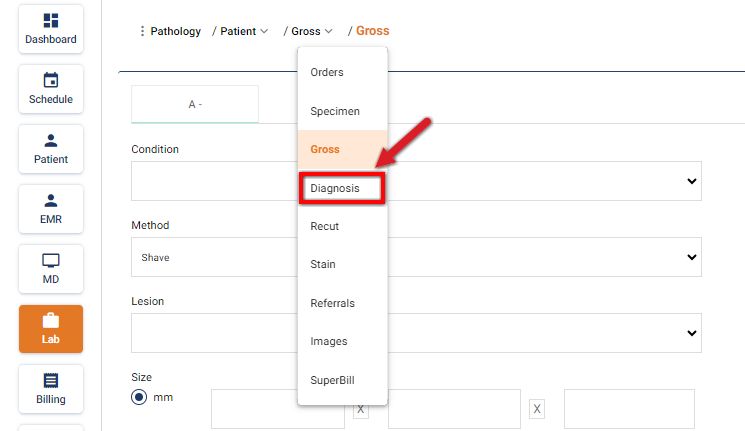
- Click on Diagnosis from Drop-Down
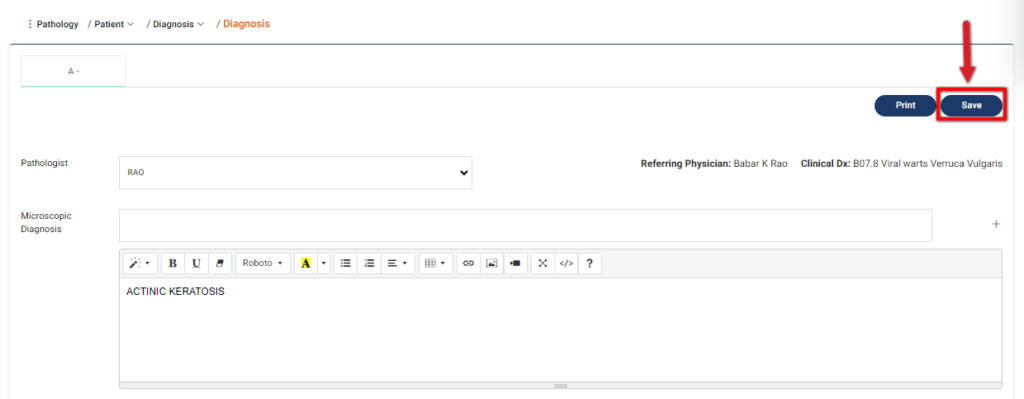
- Select pathologist
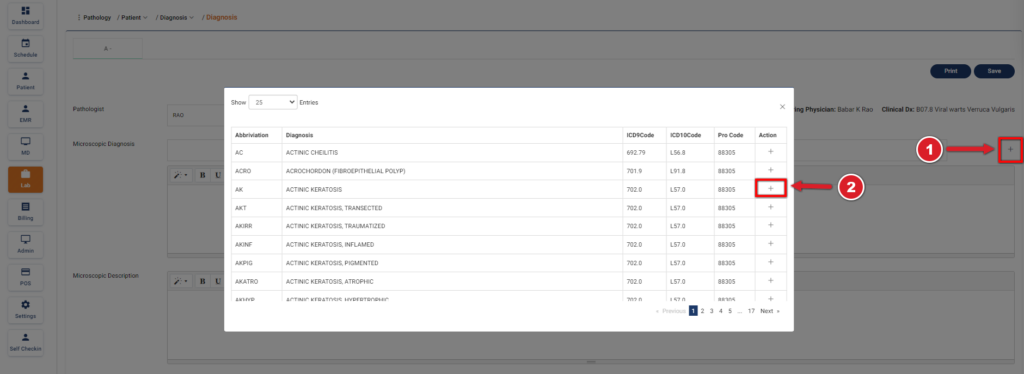
- Add Microscopic Diagnosis and Description by clicking on + Sign
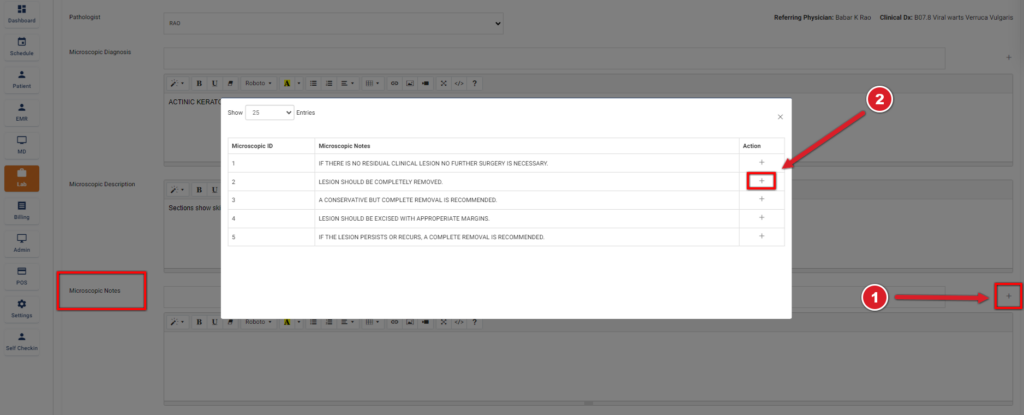
- Add Microscopic Notes by clicking on + Sign
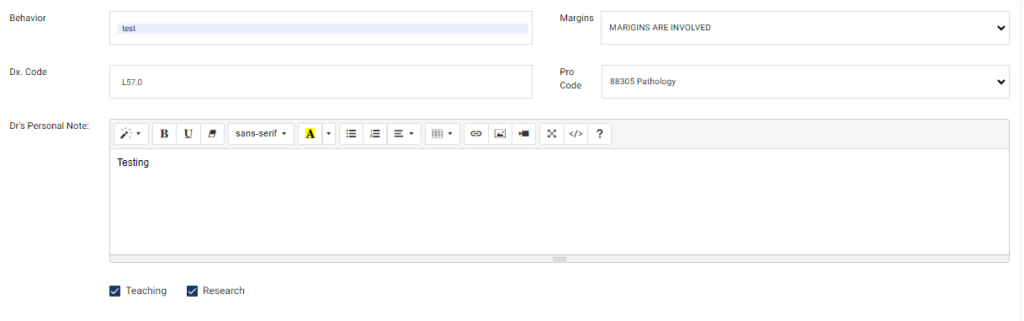
- Enter Behavior
- Select Margin
- Select Dx. Code
- Select Pro Code
- Enter Dr’s Personal Note
- Select Check Boxes
- Click on Save Button
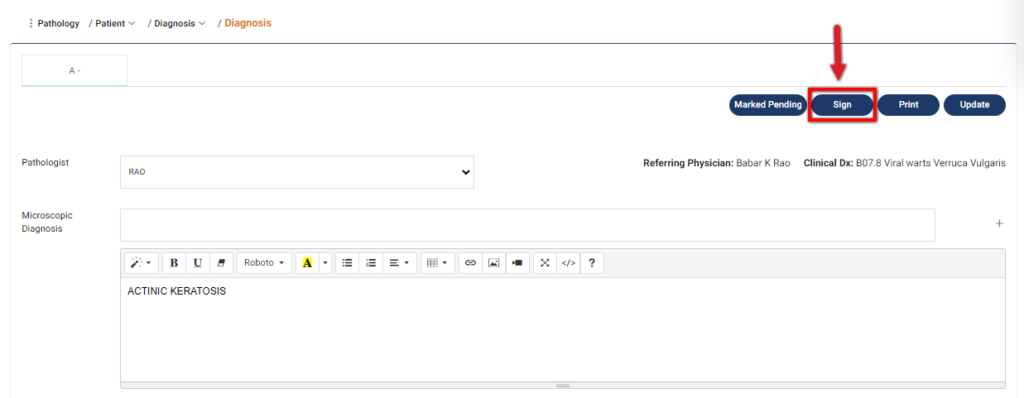
- Click on Sign Button
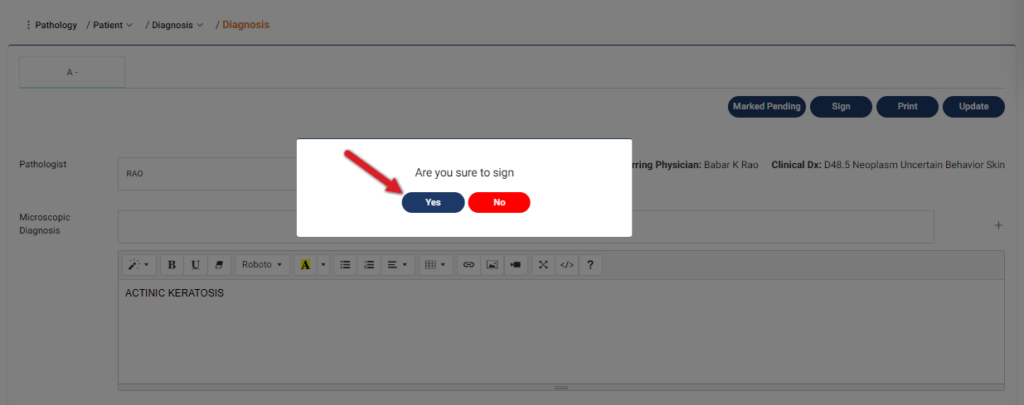
- A pop-up will appear on your screen
- Click on Yes Button
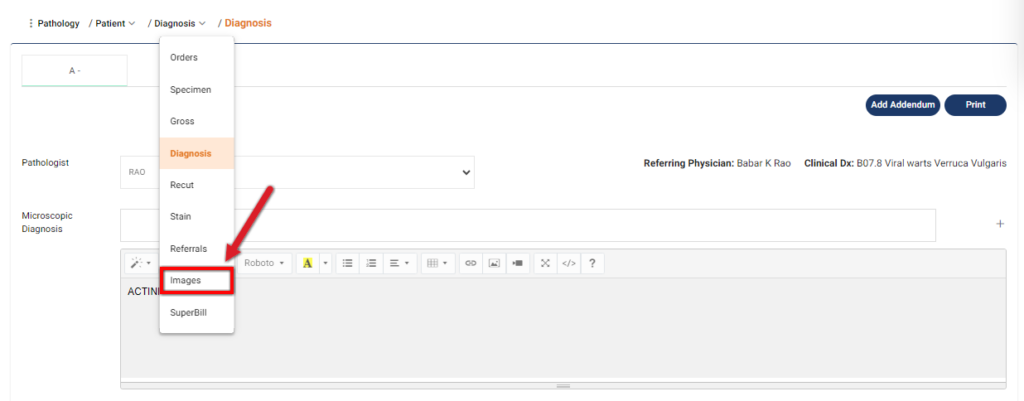
- Click on Images from Drop-Down
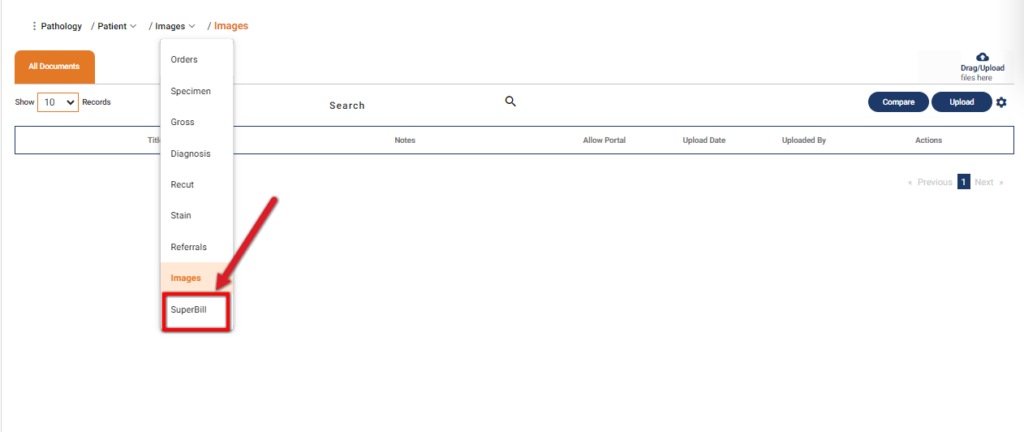
- This screen will be opened
- Documents in the Lab Module can be managed in the similar way as managed in the EMR/Patient Module; Visit the following document: Manage Documents
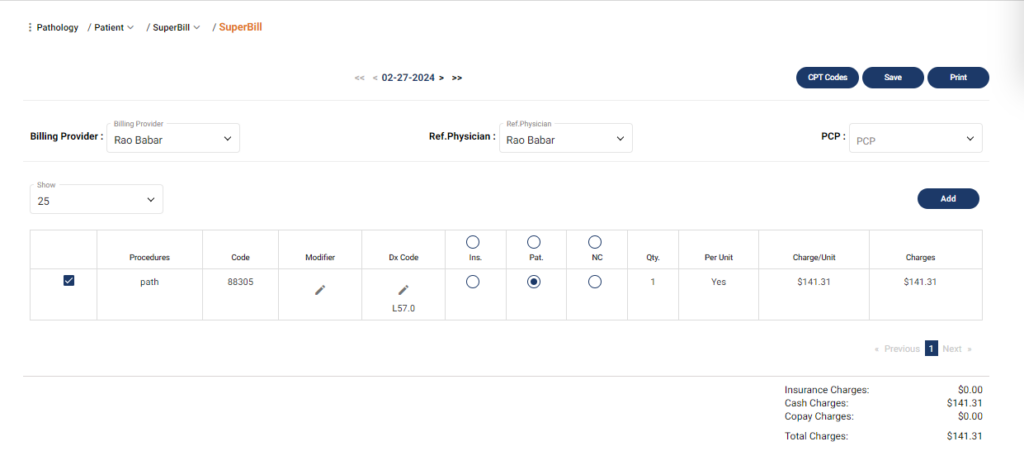
- Click on Super Bill from Drop-Down
- Your Super Bill will be automatically generated
- Go to Lab Module
- Click on Path Log
- Click on the “To Be Worked” Radio Button
- Click on Search Button
- Your Lab Request will be appear on your screen
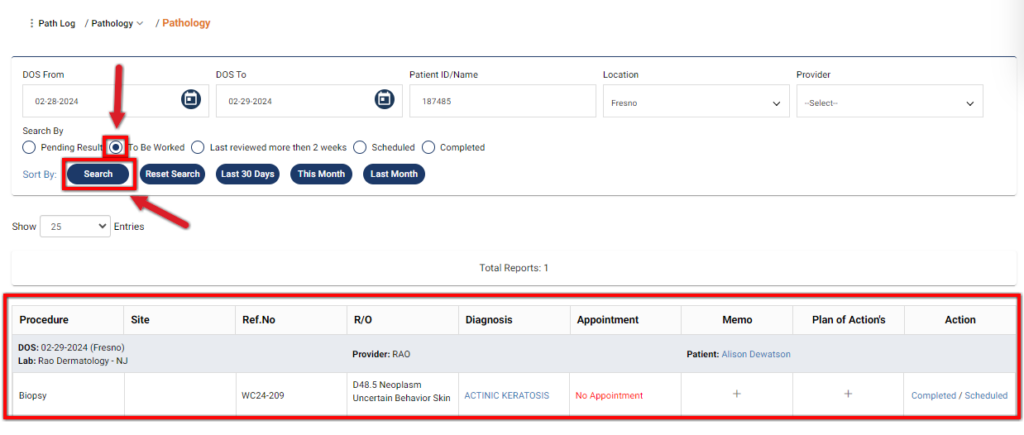
- You can click on Completed/Scheduled Action
- Your Status will be changed as Scheduled or Completed
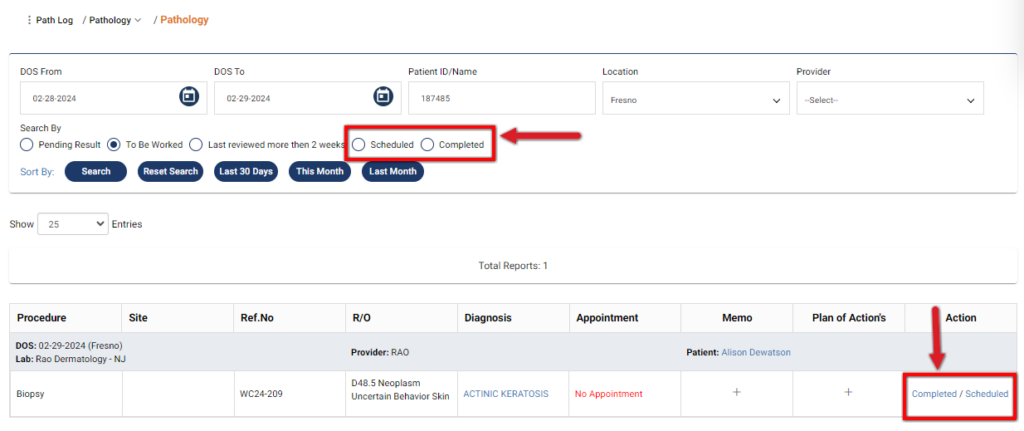
- Click on Completed Radio Button
- Click on Search Button
- Your Completed Lab Request will appear on your Screen


